So, finally got the finger out last week and did a few bits with the Corrado!
First up, refitted all the lights and modified the later model debadged grill to fit - left the front indicators smoked with the Lamin-x film as it'll tie in nicely with the smoked side repeaters to be fitted.
Next job to be done was to restore the second-hand chin spoiler that's been lying in the shed for the last couple of years. First job was a rub down with red scotch pads, then a clean with white spirits, then a few coats of Halfords Black bumper paint - great stuff that gives a nice textured OEM finish...
Next on the list was to clean up the bodywork, in advance of tackling it with the DA Polisher and mops, to try and bring the paintwork back to life. As you can see, two years of sitting out in the elements has done it no favours, and it had become an arachnid wildlife colony!
As you can see, the horizontal panels (roof and bonnet) have become very dull - this will be rectified, don't worry!
This female spider wasn't too happy when I raised the electric spoiler for the first time in a year, disturbing her and her hundreds of cute little babies! Arachnophobics look away now!
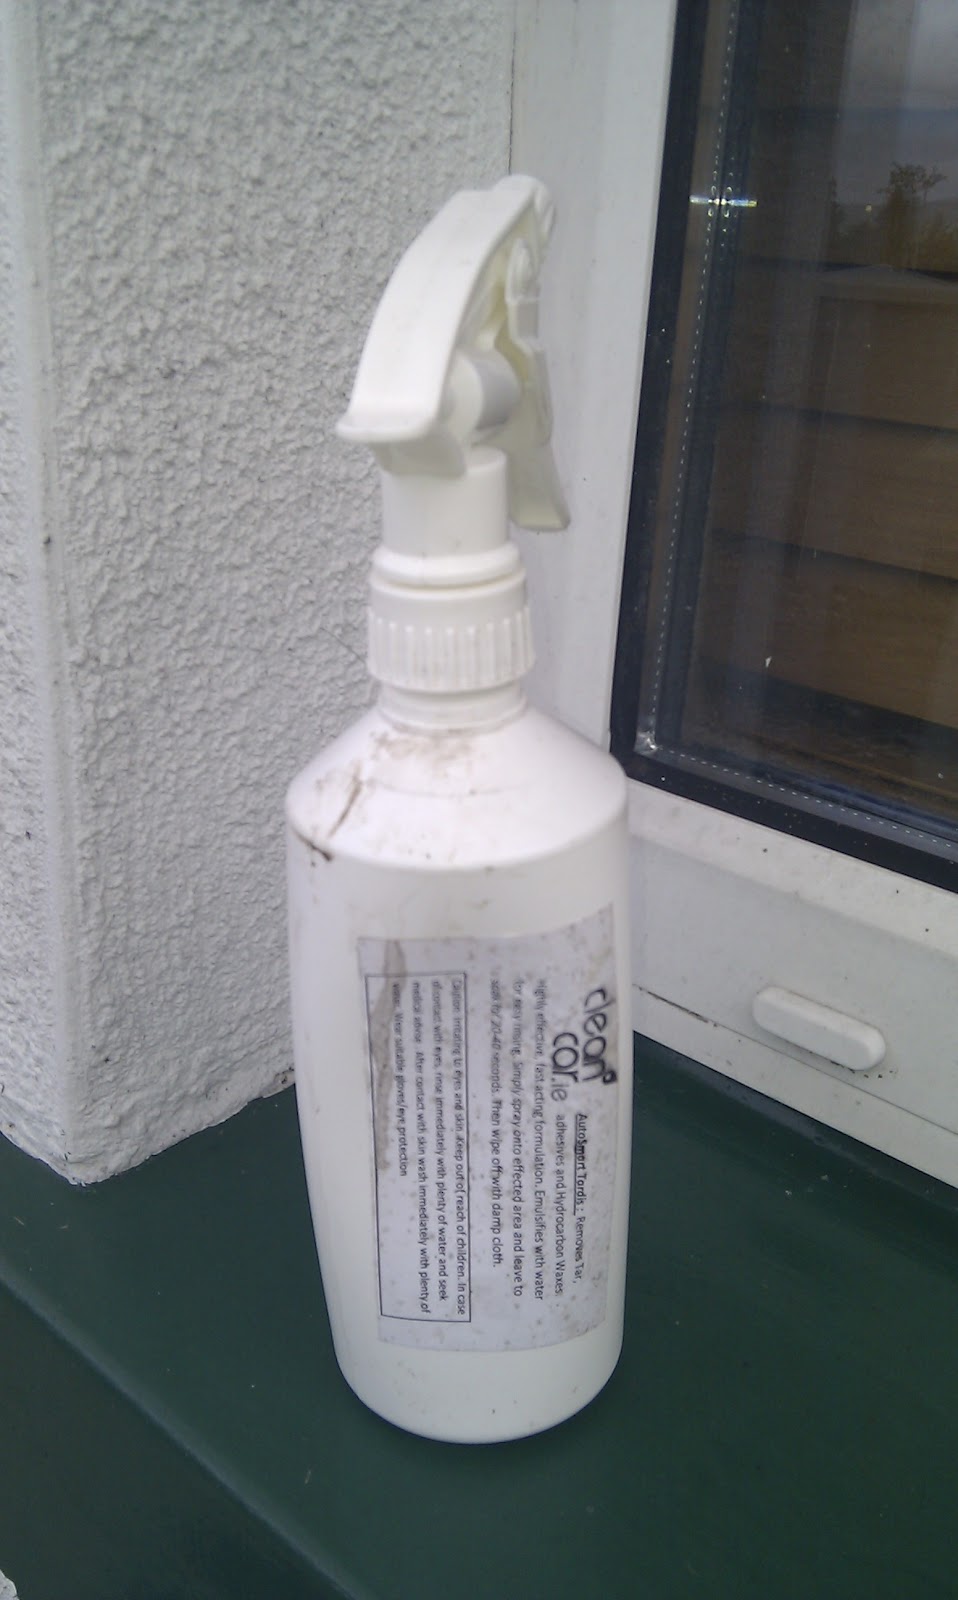
So, onto the cleaning... fisrt step was a couple of applications of snowfoam, left to dwell for 30mins. All products were supplied by Larry in www.cleancar.ie - what a gent and a pleasure to do business with!
Next step, wash down and rinse and detar the whole car, as this helped remove a lot of glue from trims, badges etc too.
Next, soaked her up with snow foam again, rinsed and clayed the whole car, using clay bar and speed detailer...
Finally another coat of suds and a good rinse off.
Didn't turn out too bad at all; she's ready to be attacked with the polisher next, so we'll see how that turns out in the next installment.
So, while I was on a roll, I decided rather than fork out on new badges, I'd refurbish theexisting ones, to save a few bob, for more important things, like petrol!
All were rubbed down with red scotch pads to give a good surface key, then painted with hycote primers. The G60 badges were primered in white and have gotten three coats of VW Tornado Red, and will be finished with the surrounds done in Hycote satin black once the red has cured enough to mask over it.
I also used some 3M carbon vinyl wrap inside the rear panel badge roundel, as it was badly discoloured - didn't turn out too bad, I think..
And yes, I did manage to snap off the 'C' from the rear 'Corrado' badge, as some numpty had glued it to the car...this will be fixed during refitting!
Right, thats all for now.
Later,
RV.